


The Process
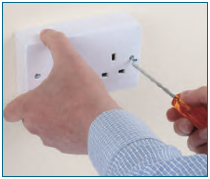
 Step 1.
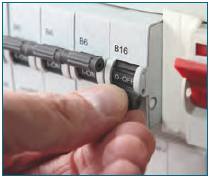
 Switch off the power to the mains circuit that your socket is located on at your consumer unit (fuse board). This is likely to be a miniature circuit breaker (MCB), or a fuse in an older system. Once the circuit has been isolated, test that it is dead by using a plug-in circuit tester or a lamp.
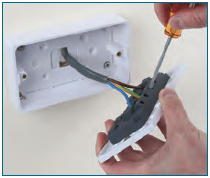
 Step 2.
 Use a screwdriver to unscrew the existing faceplate from the back box and pull it forward to reveal the existing mains wiring. This is likely to be brown (live) and blue (neutral) with a green and yellow earth wire. If you have an older installation, the wires may be red (live) and black (neutral). There will be one - or two or three of each colour wire twisted together - going into each terminal of the socket.
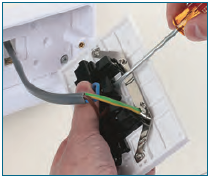
 Step 3.
 Loosen the terminals and pull the wires free of the old socket. Inspect the wires making sure that there is 5mm of wire clear of the insulation. You may need to strip the wire back if the ends are damaged – but make sure that you have enough free cable to work with. It’s also worth giving the bare ends a clean with DeoxIT contact enhancer, making sure you wipe them dry afterwards.
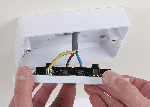
 Step 4.
 Inspect the new socket and locate the live, neutral and earth terminals – they may be in a different position to the socket you have just removed, and make sure that you have enough free cable to enable the wires to reach. Unscrew the socket terminals so that they are open, and fit the brown (or red) wire to the Live, and screw the terminal down tight onto the conductor. You should have no wire showing once the cable is fitted and the wire should be tight in the terminal. Repeat this for the blue (or black) wire, fitting it to the neutral terminal, and the green / yellow wire to the earth terminal.
 Step 5.
 Once all cables are fitted to the socket and the terminal screws are tight, carefully push the socket back into the back box. Refit the faceplate with the faceplate screws and check that the socket is level. Occasionally the threads in the back box lugs can become damaged, meaning that you are unable to tighten the faceplate; our ‘back box saver’ can be used here.
 Step 6.
 Once the socket is fitted, restore power to it by switching on the MCB at the consumer unit (or refit the fuse). Test the socket with a plug-in socket tester to confirm it is working and wired correctly, and then reconnect your system to it.
Related Products
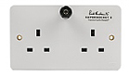 SuperSocket II
The start of our range of sockets but still a big leap in performance from a standard wall socket. Like all our sockets, it’s unswitched to create a cleaner electrical path and the SuperSocket II™ features high spring-rate brass contacts that we treat with DeoxIT® contact enhancer. Click here to buy.
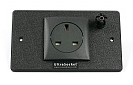 UltraSocket DCT
A super-quality product to begin with, we then send our UltraSockets for Deep Cryogenic Treatment (DCT) and, finally, treat them with DeoxIT contact enhancer to create a topperforming socket at an affordable price. Click here to buy.
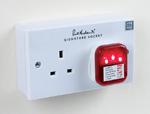
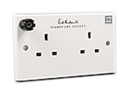 Signature Socket Rh
The Signature model was introduced after a number of customers encouraged us to develop a Rhodium socket to match the standard of our Rhodium AQ plugs they were using on their PowerKords (see the Evolution-500 offer on the previous page). As if the socket was not good enough on its own, we’ve also added the full Process-Q for good measure. Click here to buy.
 Socket Tester
A simple plug-in device, the socket tester (which is for use with UK 13A sockets only) enables you to test the polarity and earth of your socket once fitted. Click here to buy.
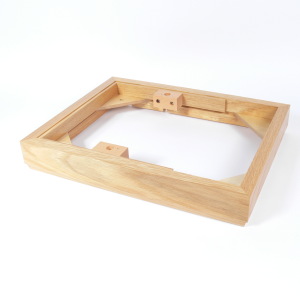
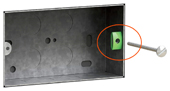 Back Box Saver
The threads in the lugs securing your socket into the back box can strip, meaning the socket cannot be firmly fitted. Back Box Saver allows the back box still to be used, by overlaying a reinforced nut onto the stripped lug to provide a secure fixing for the screw to engage. Back Box Saver fits most lugs and repairs a stripped thread in most cases. Click here to buy.
WARNING Mains Electricity can be lethal and you must make sure that the mains is switched off at the consumer unit before removing a mains socket. If you are in any doubt as to your capabilities, we would always recommend you engage a qualified electrician.


